

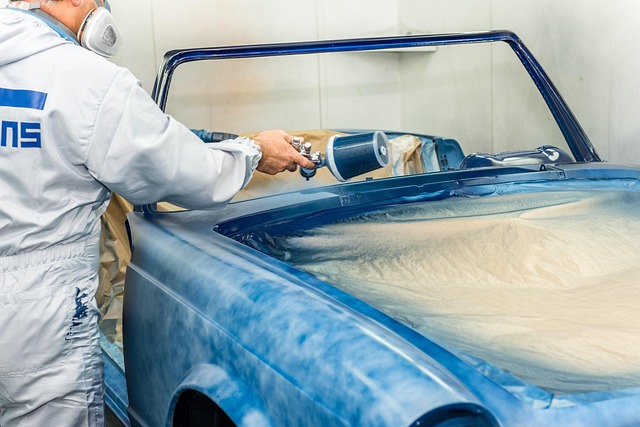


Thoroughly inspect and prepare car surfaces before applying body filler. Clean, dry, and sand for optimal adhesion, preventing moisture issues that can compromise results in body filler application. Prime areas to enhance durability and protect against future damage during dent repair or scratch removal.
Preparing surfaces correctly is key to achieving flawless results with body filler application. Before you start, assess the surface condition, looking for cracks, pits, or contaminants. Inspect and prepare the area thoroughly for optimal filler adhesion. Then, clean and dehydrate the surface to remove any oils or moisture that could interfere. Finally, lightly sand and prime the area to create a smooth canvas ready for body filler application.
- Assess Surface Condition: Inspect and Prepare for Filler
- Clean and Dehydrate: Ensure Optimal Adhesion and Results
- Lightly Sand and Prime: Create Smooth Canvas for Application
Assess Surface Condition: Inspect and Prepare for Filler

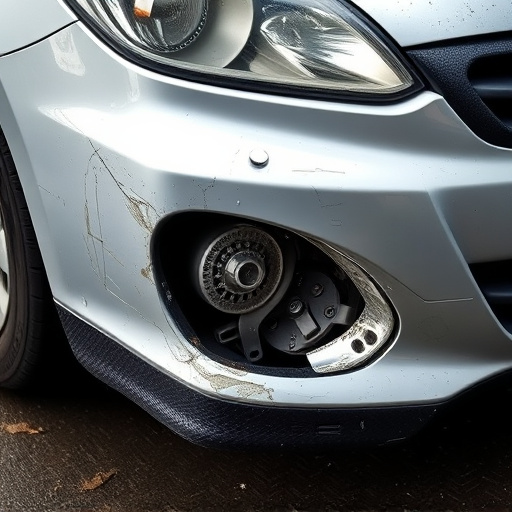
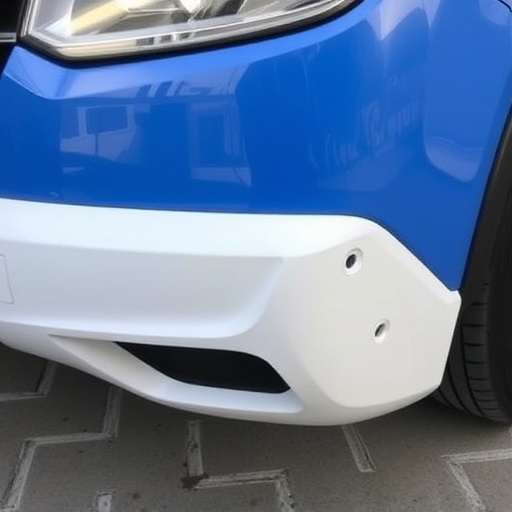
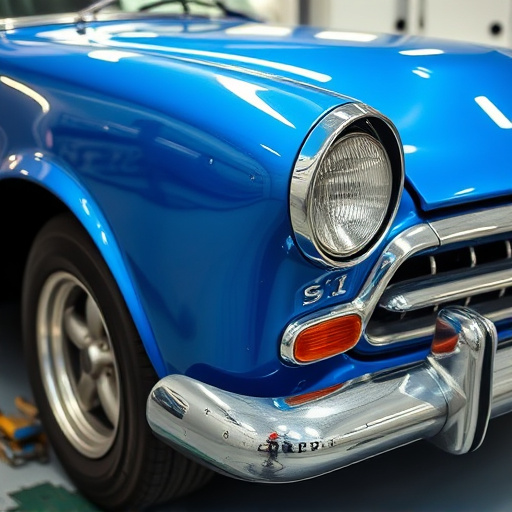
Before applying any body filler, it’s crucial to assess the surface condition thoroughly. Inspect the damaged area for cracks, holes, or any signs of corrosion. In car restoration or collision repair services, a fender bender can leave more than just visible dents; hidden damage might exist beneath the surface, which could compromise the effectiveness of the filler.
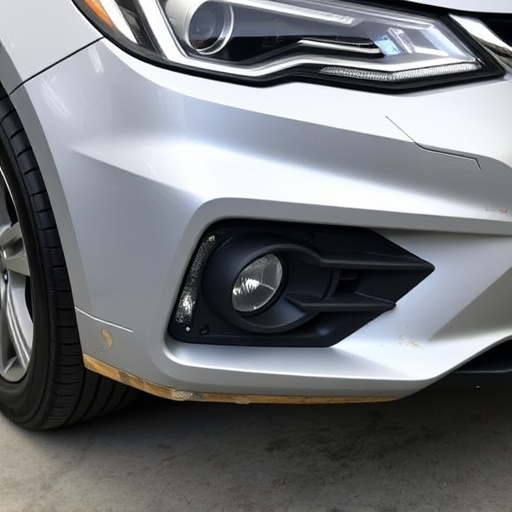
To prepare for successful body filler application, clean the affected area gently to remove any dirt, grease, or debris. Sanding the surface slightly can also help create a rough texture that enhances adhesion. Ensure the area is dry and free from moisture to prevent filler from setting too quickly or becoming compromised due to water absorption, especially in areas prone to rust or moisture accumulation.
Clean and Dehydrate: Ensure Optimal Adhesion and Results

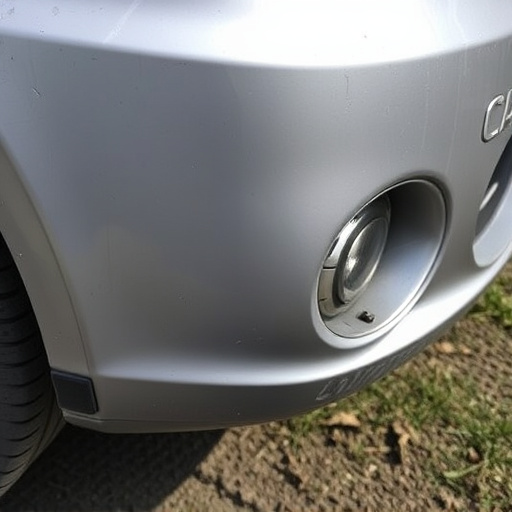
Before applying any body filler, it’s crucial to start with a clean and dehydrated surface. This initial step is vital for achieving optimal adhesion and ensuring the best possible results. Cleaning involves removing all dirt, grease, and other contaminants from the area to be filled. You can use specialized cleaning agents or mild detergents, followed by thorough rinsing to ensure no residue remains.
Dehydration is equally important. Even minor moisture can hinder the bonding process between the body filler and the surface. Dehydrating the area helps to remove any remaining humidity, creating a dry environment that promotes strong adhesion. This step often involves using specialized drying agents or even heat guns on lower settings to ensure the surface is completely dry before proceeding with the body filler application, making it an essential part of any successful vehicle dent repair or scratch repair process, especially when utilizing body shop services.
Lightly Sand and Prime: Create Smooth Canvas for Application

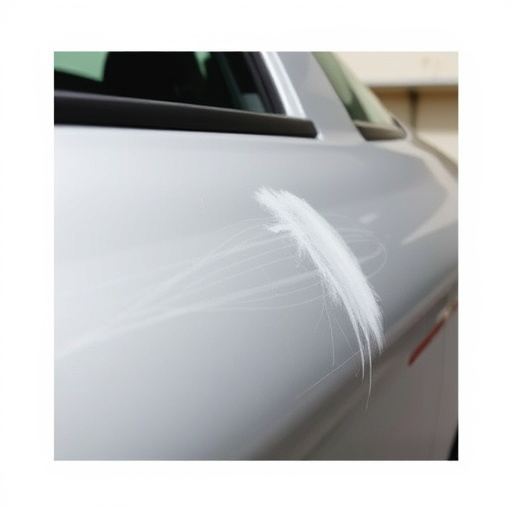
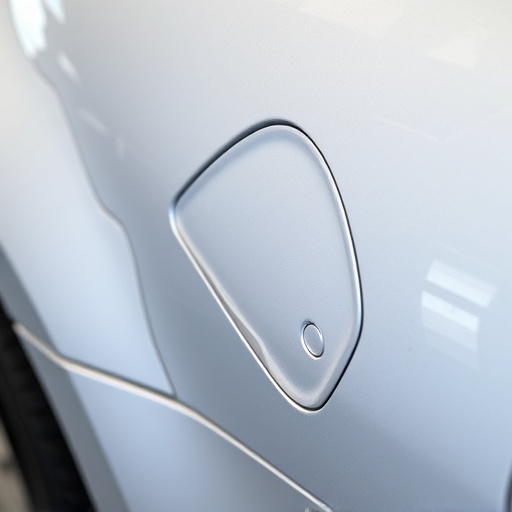
Before applying any body filler, it’s crucial to prepare the surface properly. Lightly sanding ensures that the filler adheres evenly and creates a smooth canvas for application. Start with coarse sandpaper to remove any rough patches or imperfections, then switch to finer grits to achieve a sleek, seamless finish.
Prime the surface with an appropriate primer designed for body filler application. This step is essential in auto body services as it fills in any remaining pores and defects, enhancing the filler’s effectiveness. A good primer also acts as a barrier between the filler and the existing paint or material, ensuring long-lasting results that are resistant to future damage, even if minor incidents like a fender bender occur.
When preparing surfaces for effective body filler application, assessing the condition, cleaning, dehydrating, lightly sanding, and priming are crucial steps. By following these practices, you ensure optimal adhesion and enhance the final results of your body filler application. Remember that a well-prepared surface is half the battle won in achieving a smooth, durable finish.